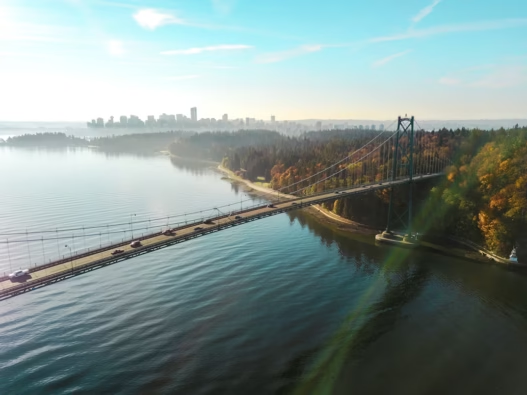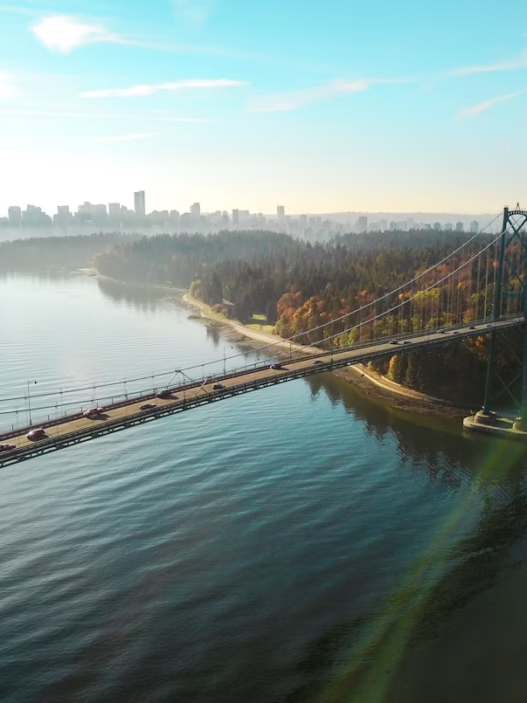


Good Caring Canada brings you real-time camera views of traffic along the Ironworkers Memorial Bridge corridor, spanning East Vancouver to North Vancouver via Highway 1. This major commuter route includes key segments from the Cassiar Tunnel on the south side, across the bridge deck, and onward to the northern ramps serving Lynnmour, Main Street, and the Upper Levels Highway.
⬇️ Scroll down to follow the Ironworkers Bridge corridor from its southern approach to its northern connections. For each segment, you’ll find a live traffic camera image—automatically refreshed every few minutes—along with a description of what you’re seeing. These include direction-of-travel indicators, ramp locations, and high-volume merge points.
To help with trip planning, each view includes guidance on lane control signals, common congestion patterns, and rush hour behavior. Understanding these dynamics—particularly the bridge’s unique three-lane reversible flow—can help drivers reduce wait times, avoid delays, and travel more efficiently across the inlet.
Live camera feeds may occasionally be unavailable due to technical interruptions or scheduled maintenance. In such cases, readers are encouraged to refresh the page or return later for updated views.
Ironworkers Segment-by-Segment View
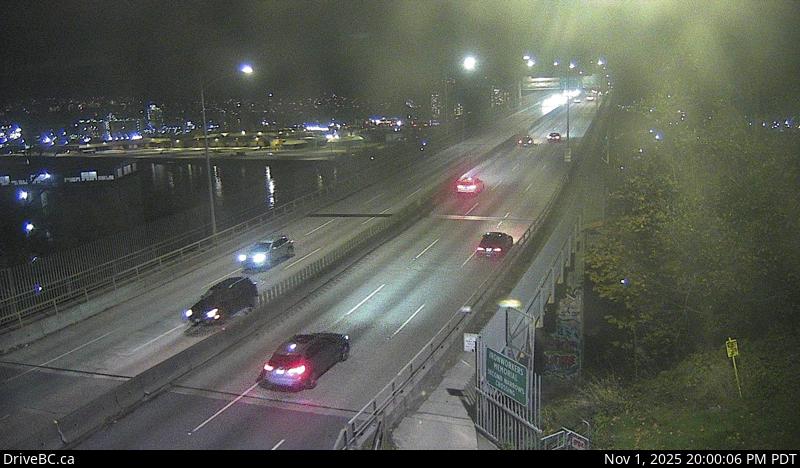
1. Ironworkers South End (Southwest View)
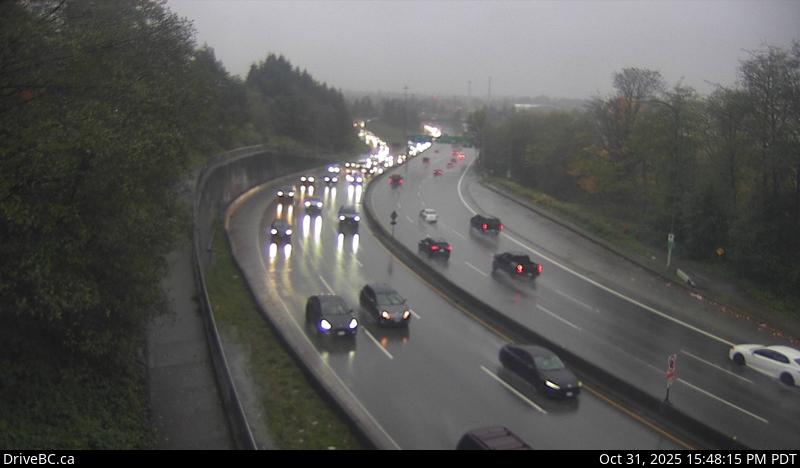
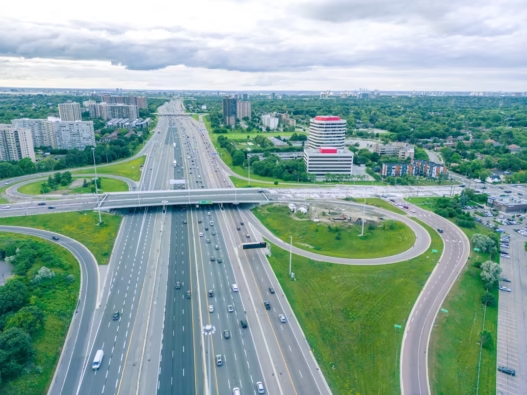
This camera looks eastbound along Highway 1 toward the Cassiar Tunnel, marking the southern end of the Ironworkers Memorial Bridge corridor. Traffic merging from Vancouver and Burnaby converges here before entering the bridge zone. Delays here often signal larger northbound congestion across the span.
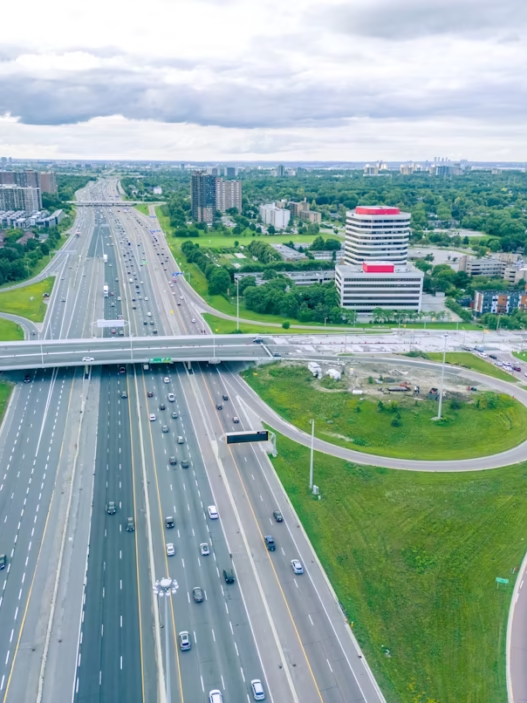
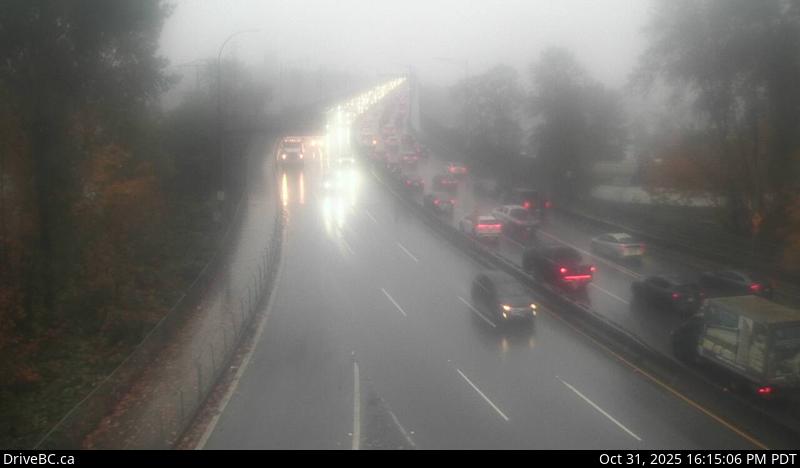
2. Ironworkers South End (North View)
Looking north toward the bridge entrance, this view captures vehicles exiting the tunnel and approaching the bridge incline. Lane merges and on-ramp inputs from the east contribute to frequent slowdowns during peak periods.
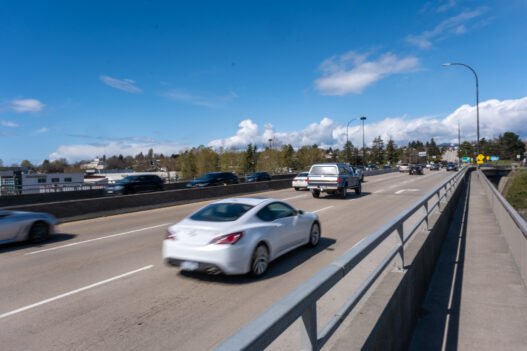
3. Ironworkers Midspan (South View)

Located on the bridge deck itself, this camera offers a south-facing view across Burrard Inlet. While not reversible like Lions Gate, the Ironworkers often experiences dense counterflow volumes, especially in the afternoon. This view is ideal for checking central span traffic buildup.
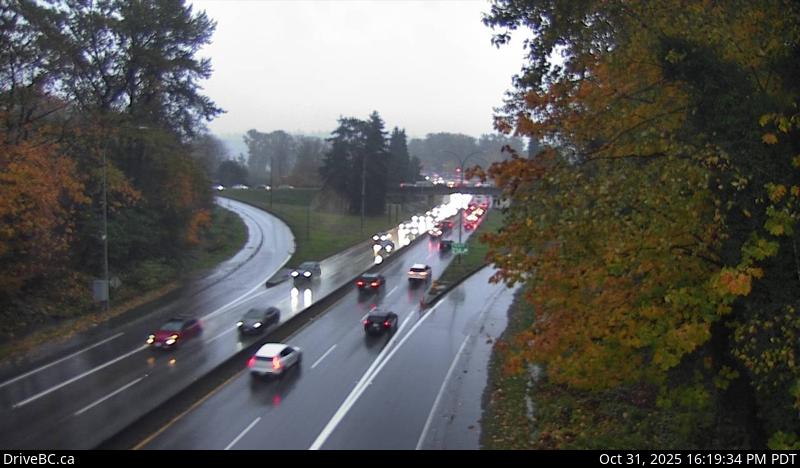
4. Ironworkers North End (South View)
This view looks back toward the bridge from the North Shore’s Main Street exit area. It highlights southbound traffic returning to Vancouver. Backups here are common during evening rush hour or if incidents occur on the span.
5. Ironworkers North End (North View)

Facing north from the bridge’s northern landing, this camera monitors northbound traffic as it disperses toward Lynnmour and Mount Seymour Parkway. It also captures ramp activity feeding into the local street network.
6. Ironworkers North Approach (South View)
This camera is located just north of the bridge near Fern Street, looking south. It captures vehicles entering the southbound lanes toward the bridge. Heavy backups here often suggest downstream congestion or bottlenecks near the midspan.
7. Ironworkers North Approach (North View)
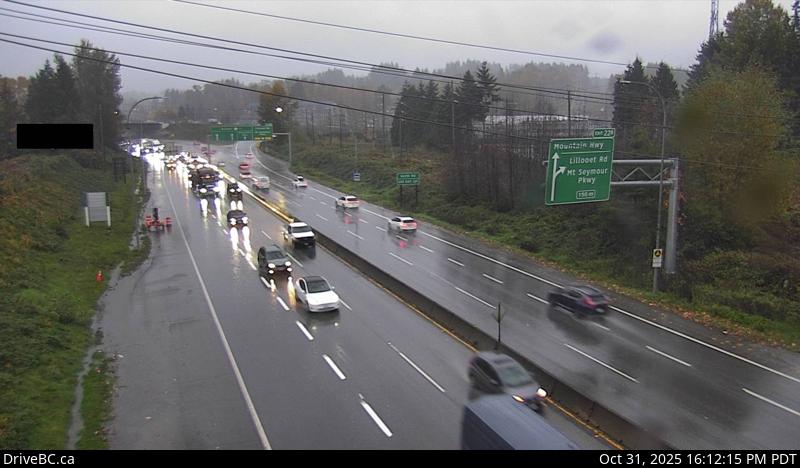
Looking north from the same location, this camera shows traffic flowing deeper into North Vancouver. It’s a useful checkpoint for understanding whether volume is clearing from the bridge or stacking up along Highway 1’s northern lanes.